Essential Bedding-in Process for MTB Riders: Maximizing Braking Performance
Even the most advanced brake pad will not deliver its full potential without a proper bedding-in process. This crucial step allows the pad and rotor to work together as a unified braking surface, ensuring consistent, powerful, and predictable stopping performance.
Why Bedding-in Matters?

New pads and rotors need time to work as one. The bedding-in process forms a uniform transfer layer — a thin film of pad material on the rotor — creating smooth, consistent contact.
It ensures stable friction, quiet operation, and better heat control, extending both pad and rotor life.
Proper bedding-in turns new pads into true braking performance.
Skipping or rushing this process can lead to:
-
Inconsistent braking feel.
-
Reduced stopping power.
-
Premature pad or rotor wear.
Preparation Before Bedding-in
Before you start the process, preparation is key to ensuring a clean, effective bonding between pad and rotor.
-
Clean the Brake System
-
-
Thoroughly clean both the rotor and caliper to remove any dirt, dust, or oil residues.
-
If you’re switching from a different pad compound, lightly scuff the rotor using 120–240 grit sandpaper in circular motions to remove the previous transfer layer.
-
Finish by cleaning the rotor with isopropyl alcohol or brake cleaner.
- Never use oil-based cleaners or multipurpose sprays — even small traces of lubricant can significantly reduce braking power.
-
-
-
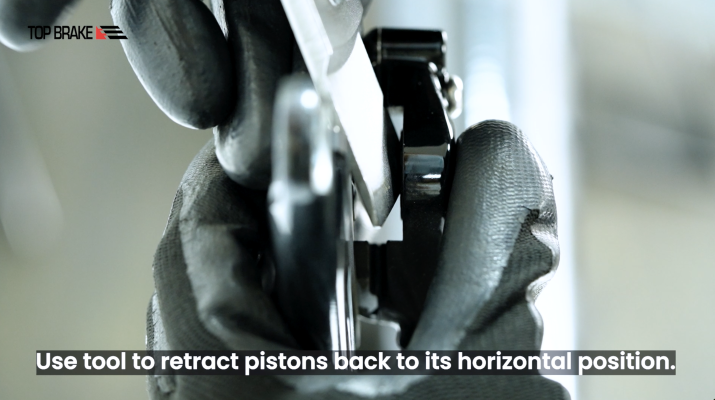
Check Caliper Alignment and Piston Position
-
Retract pistons fully before installing new pads.
-
Press the brake lever to ensure all pistons move evenly.
-
Align the caliper so the pads sit perfectly parallel to the rotor — not dragging on one side.
-
Step-by-Step MTB Bedding-in Process
Choose a safe, open area such as a gentle downhill stretch (around 100 m / 330 ft) with no obstacles. Then follow these steps:
Initial Heating Phase
-
Accelerate to a moderate speed.
-
Apply light to moderate braking for 2–3 seconds — without stopping completely.
-
Repeat this 10–20 times, allowing the pads and rotor to gradually heat up.
This controlled friction helps transfer the pad material onto the rotor evenly.
Cooling Phase
After completing the heating cycles, ride normally for a few minutes without hard braking, allowing the system to cool down gradually.
Pro Tip: Avoid holding the brake lever at a full stop after heavy braking — this can create uneven hot spots on the rotor.
Similarly, avoid multiple hard stops without cooling, which can cause warping or glazing.
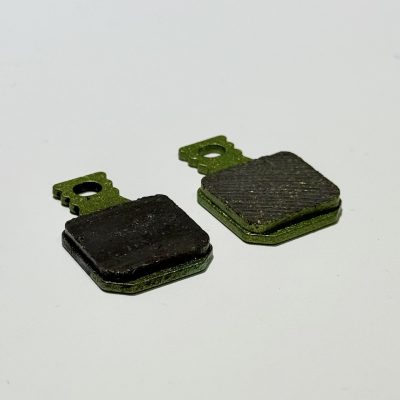
Special Considerations for Top Brake Pads
-
Material Characteristics: Our compounds are engineered for durability and high thermal stability. Bedding-in may take slightly longer than with traditional softer compounds, but this ensures stable performance under extreme MTB conditions.
-
Rotor Compatibility: Always ensure your rotor is within the manufacturer’s thickness specification and free from excessive wear or warping before starting the process.
-
Maintenance: For maximum performance, keep the rotor clean and free from oil-based or penetrating substances that can permanently affect friction surfaces.
When to Check the Rotor and Caliper
If braking performance still feels weak after a full bedding-in cycle, inspect the following:
-
Rotor discoloration (blue or rainbow tones indicate overheating)
-
Warping or uneven thickness across the braking surface
-
Residue or oil contamination
Also, ensure the caliper is functioning properly and the pistons are moving freely. (Learn more about the signs that indicate MTB brake pads are overheating.)