Stop Bike Squeals: Guide to Fixing Noisy Brakes
There’s nothing like the silence on the trail, just the hum of your tires and the wind in your ears. However, many mountain bikers experience the dreaded SQUEEEEEAL of contaminated brake pads. Let’s explore the essential steps to diagnose, clean, and fix contaminated brake pads and rotors, so you can return to silent, powerful stopping.
Understanding the Enemy: What is Brake Pad Dirt or Contamination?
Brake pad dirt occurs when unwanted substances get onto your brake pads or rotors. Here are some common sources:
- Lube/Oil: Overspray from chain lube, oil drips from suspension service, or even residue from cleaning products. This is the most common and stubborn form of contamination.
- Dirt/Grime: Road grime, mud, or dust that’s worked its way into the pad material.
- Brake Fluid: A leaking brake caliper or master cylinder can tragically contaminate everything. This is serious and needs professional attention immediately.
Once a brake pad is dirty, it can transfer that dirt to the rotor, creating a cycle of noise and reduced braking power.
The Fix: A Step-by-Step Guide to a Quiet Brake System
You’ll Need:
- Isopropyl Alcohol (IPA): Ensure the surface is dry after cleaning with alcohol before reassembling.
- Clean Rags/Paper Towels: Lots of them, lint-free.
- Gloves: To prevent re-contaminating with finger oils.
- Sandpaper: Fine-grit (e.g., 200-400 grit) for pads.
- Brake cleaner: Ensure it’s disc-brake safe and evaporates cleanly.
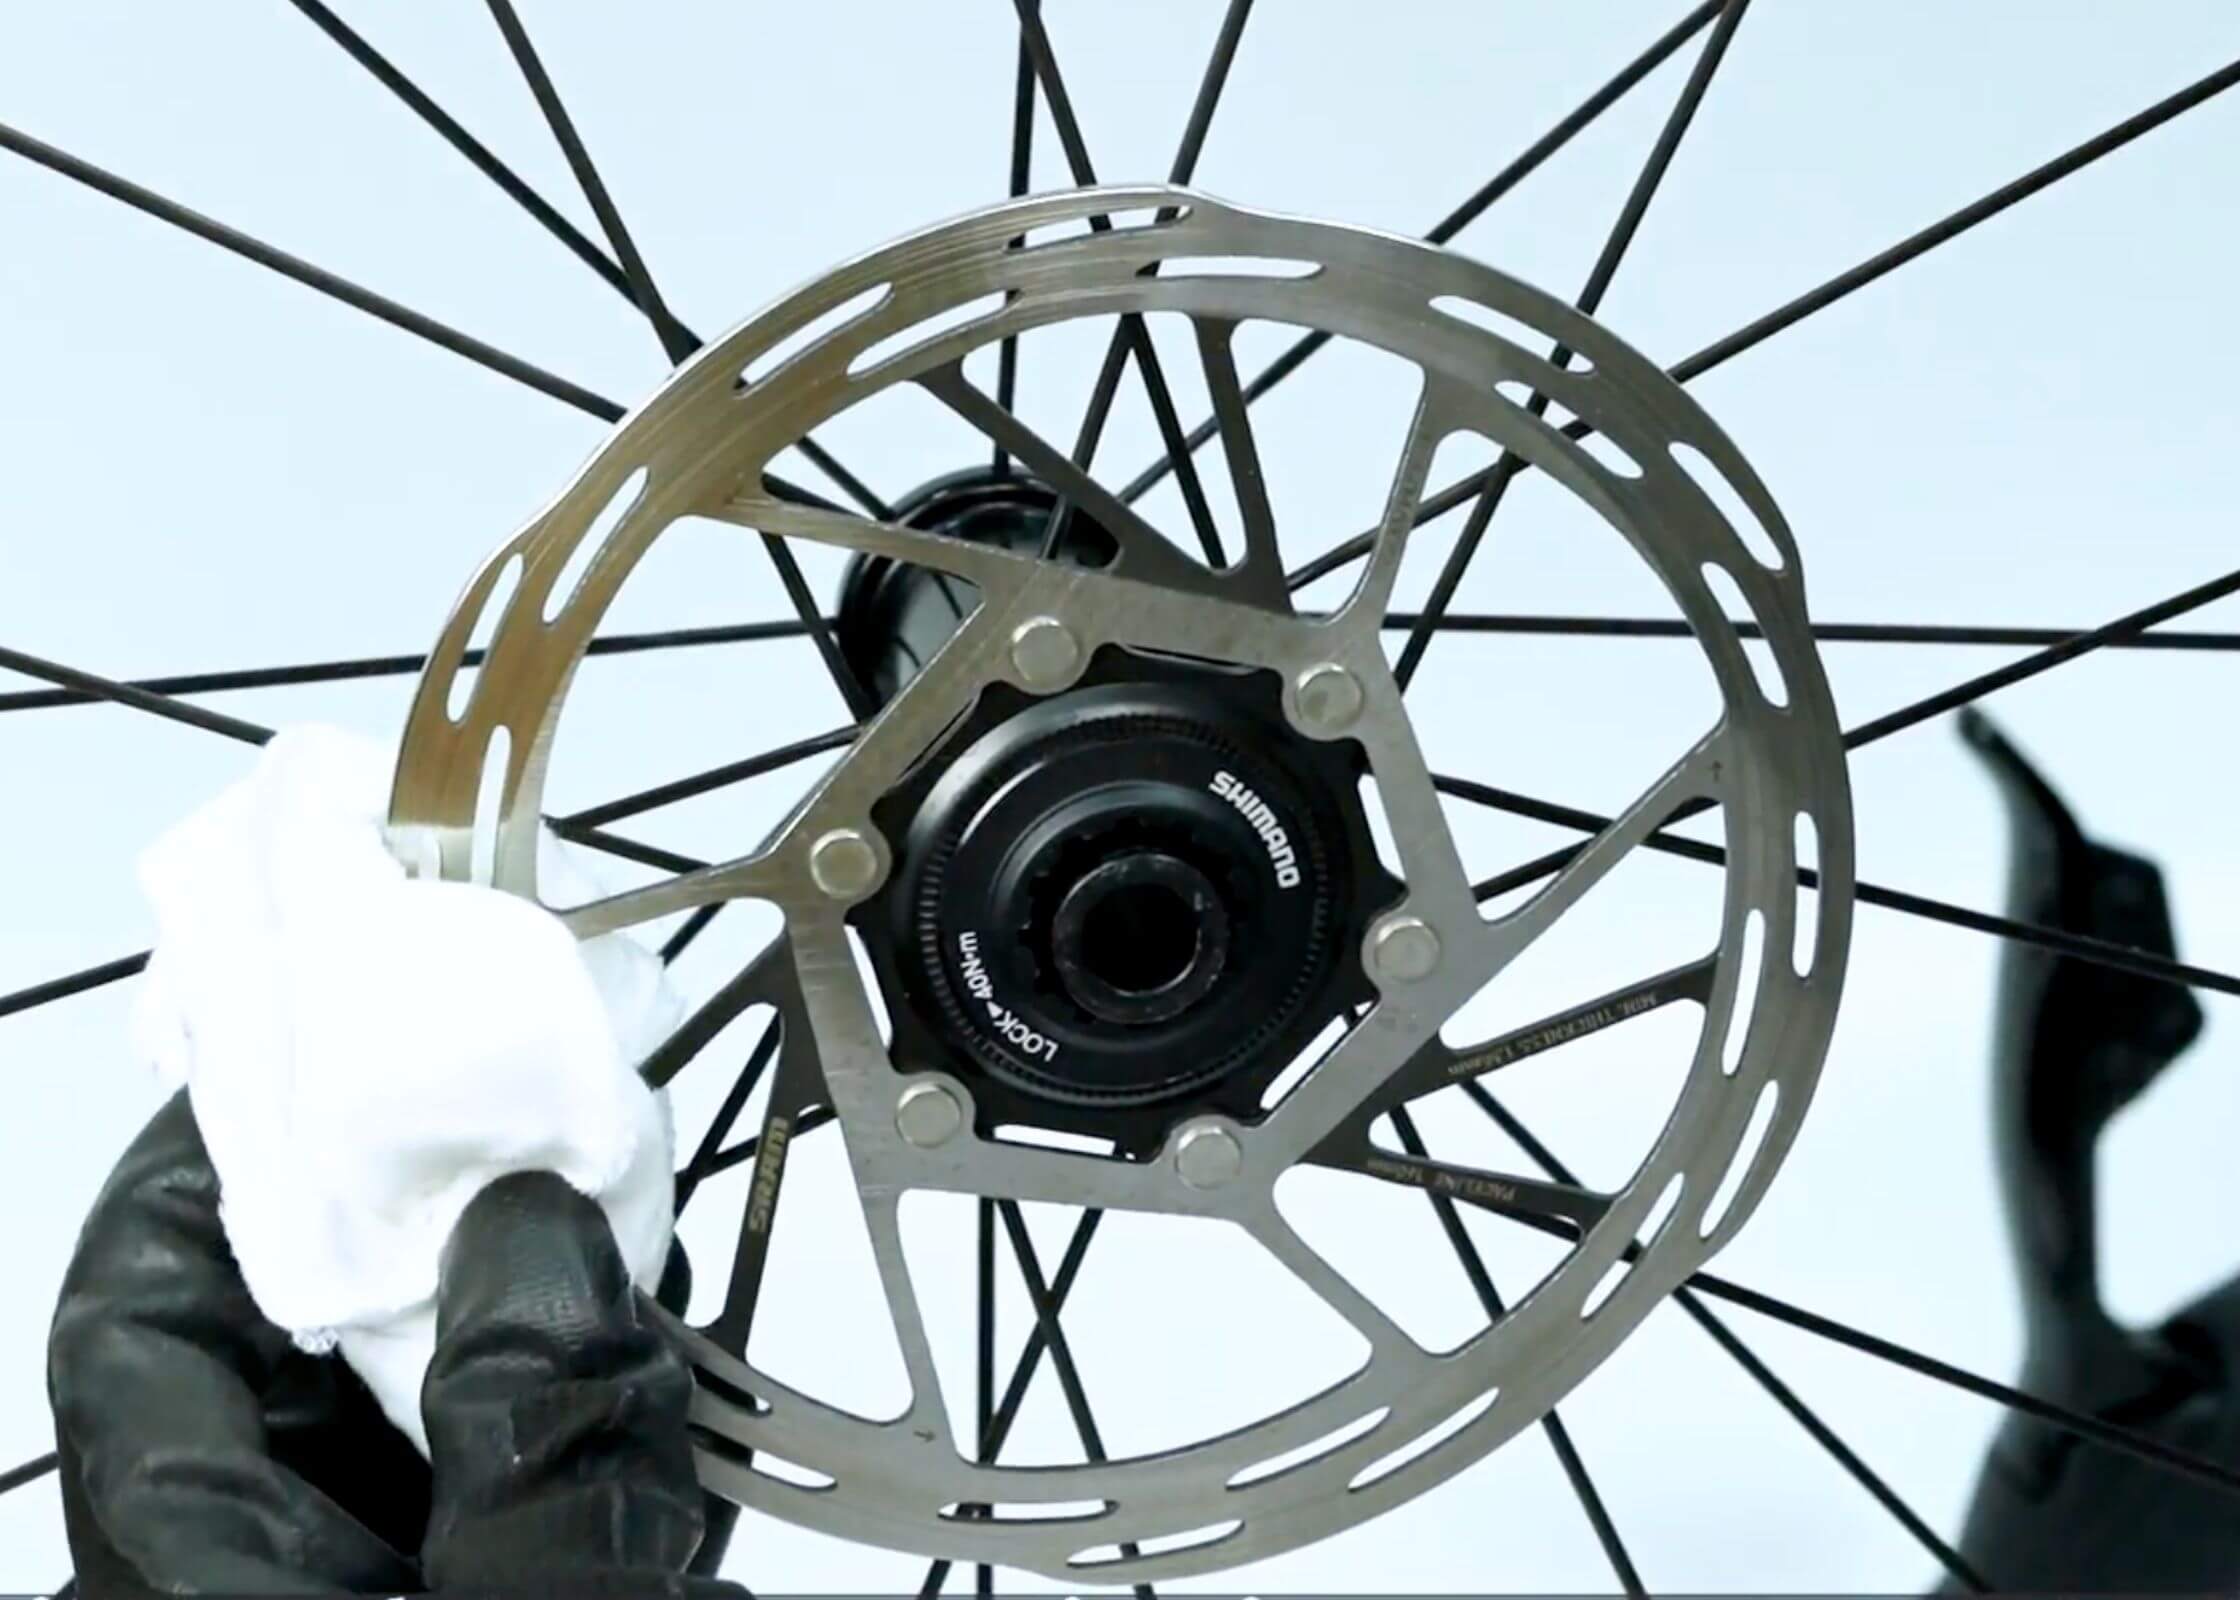
Step 1: Rotor Cleaning
This is crucial. Your pads are constantly interacting with the rotor, so it must be spotless.
- Remove the Wheel: Take your wheel out of the bike.
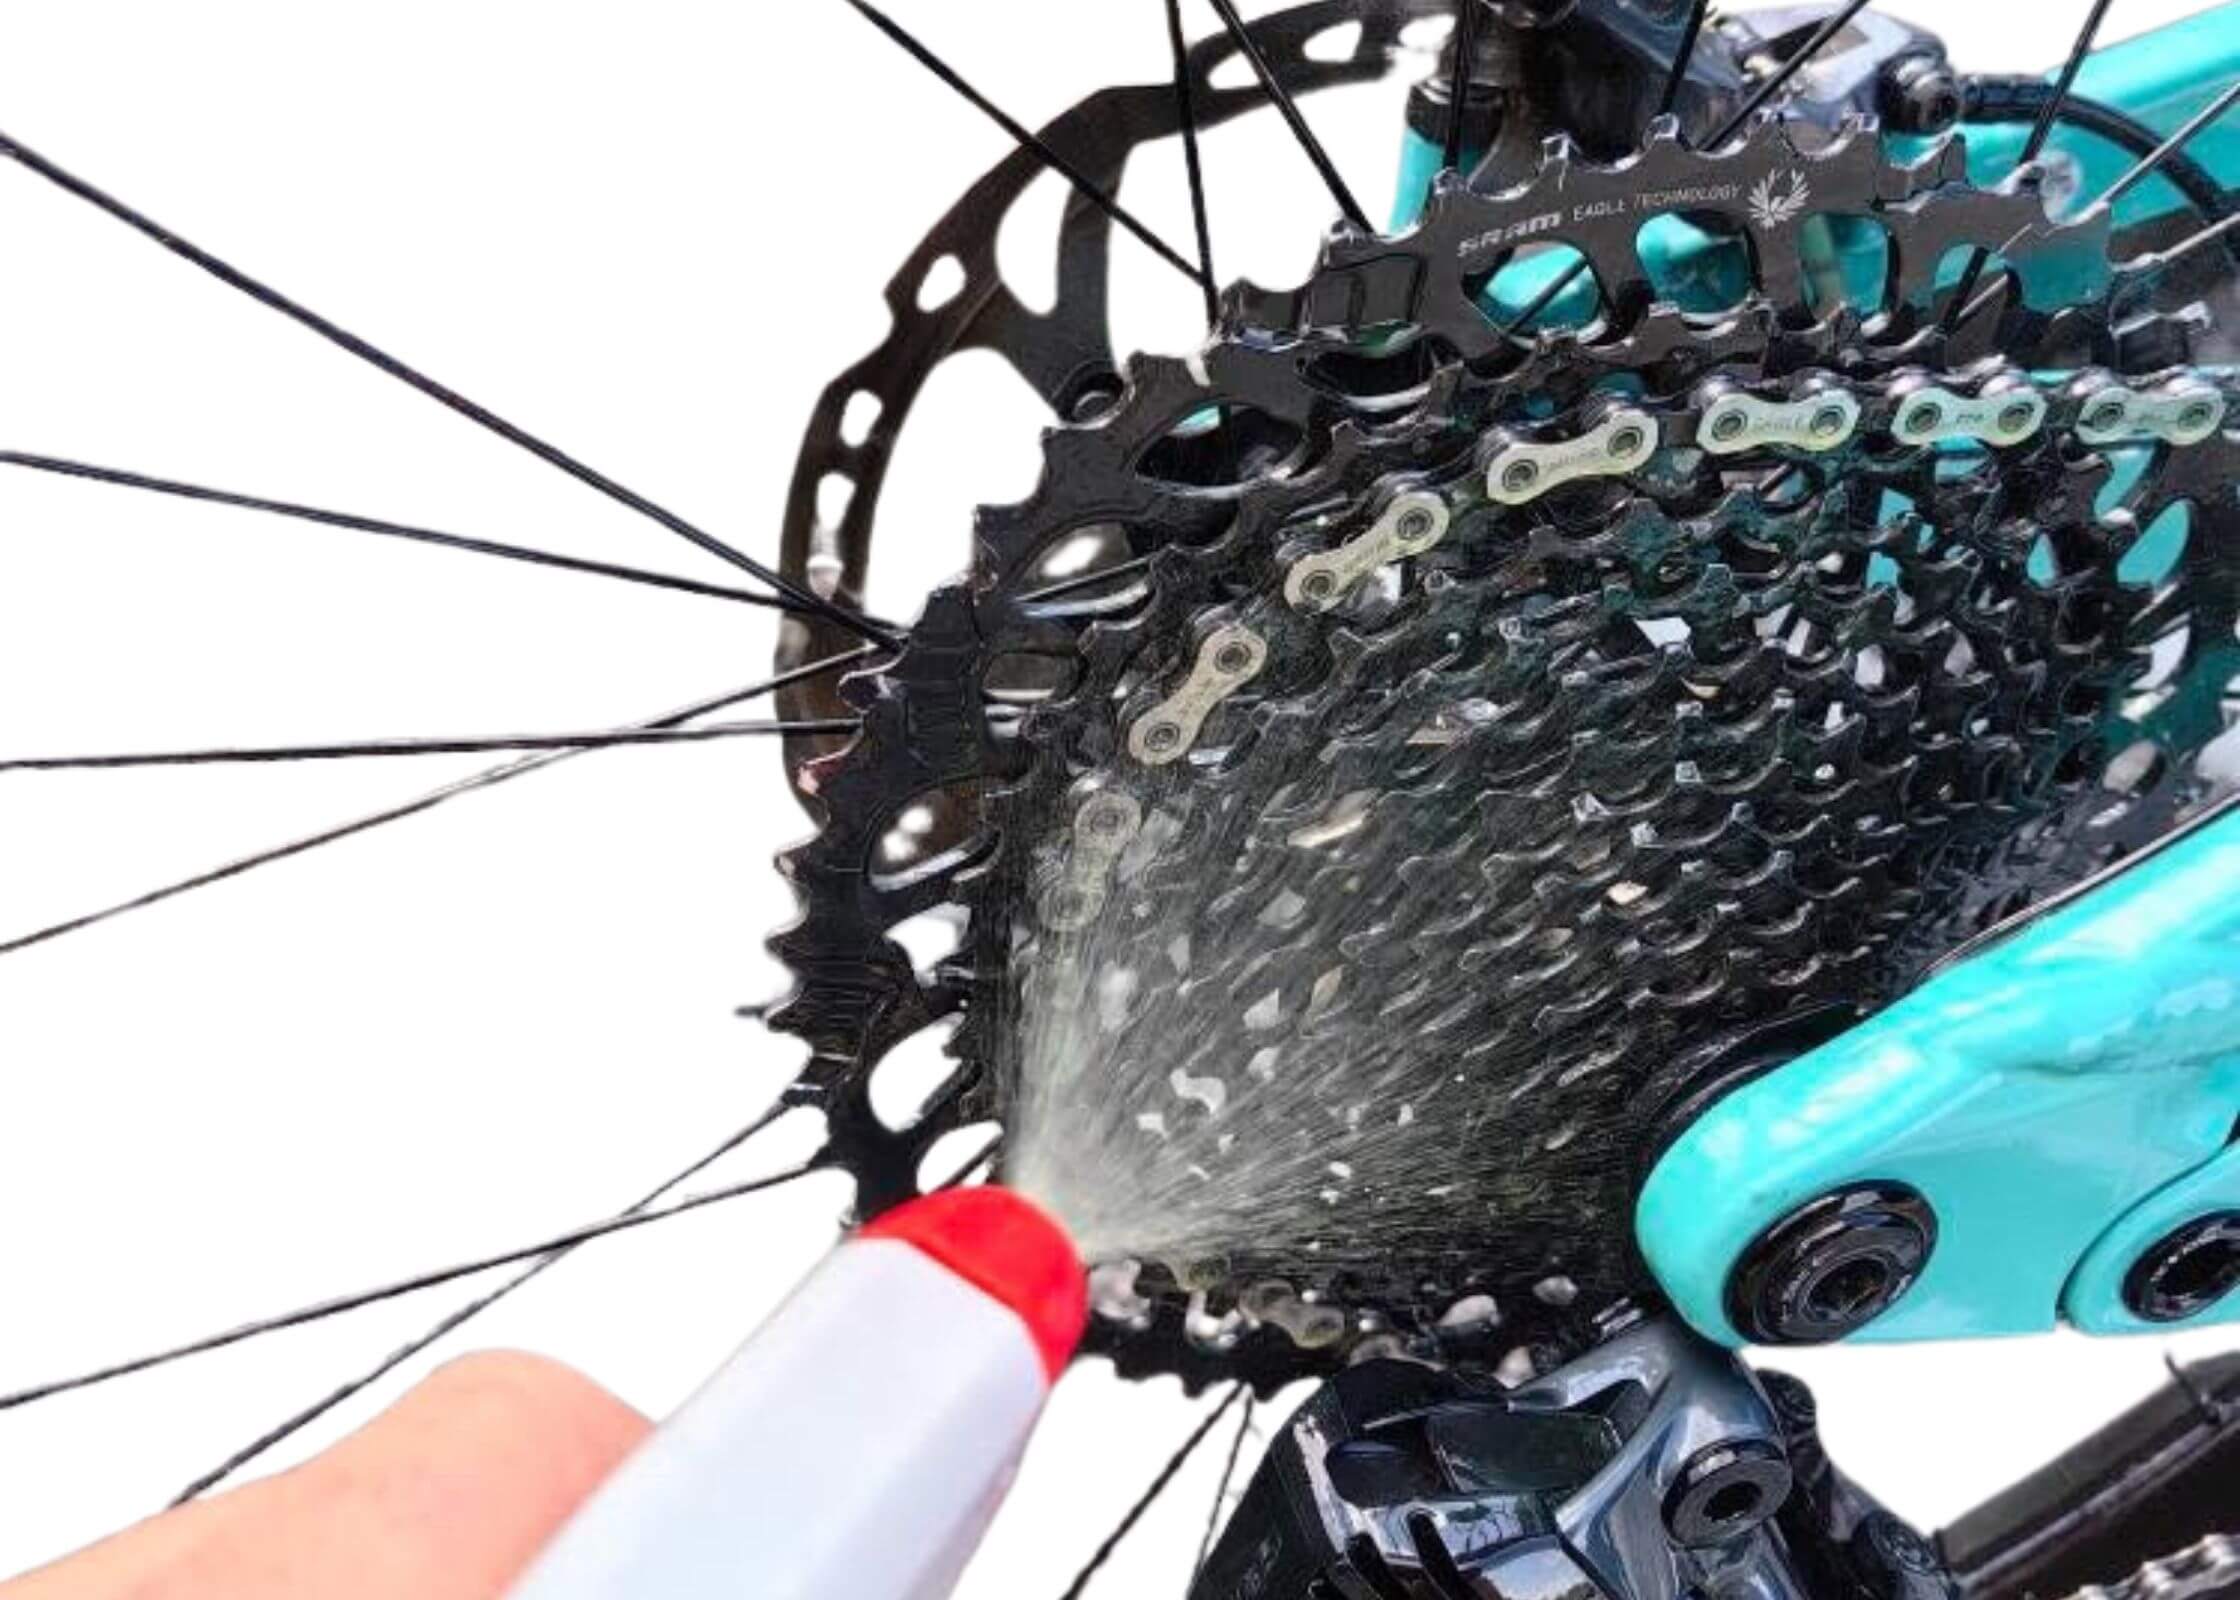
- Initial Degrease & Wash (If Needed): If your rotors are heavily soiled with mud or grime, a gentle wash with water (ensuring no residue is left) can be a good start.
- Thorough Degrease with Isopropyl Alcohol (IPA) / Disc Cleaner: Once the rotor is completely dry after washing, then proceed with a dedicated disc cleaner. Spray the rotor generously with Isopropyl Alcohol or a dedicated disc brake cleaner.
- Wipe, Wipe, Wipe: Using a clean, lint-free rag, wipe the rotor vigorously until no residue comes off. Rotate the rag frequently to expose clean sections.
- Repeat Until Spotless: Don’t stop until your rag comes away absolutely clean. Any remaining residue will just re-contaminate your pads.
- Clean Bolts: Wipe down your rotor bolts too, as they can hold grime and transfer contaminants.
Step 2: Brake Pad Cleaning
Contaminated pads usually need more than just a wipe; the contaminant often soaks into the pad material.
- Remove Pads: Take the brake pads out of the caliper. Avoid touching the friction surface with bare hands.
- Inspect: Look for shiny spots, discoloration, or any visible residue.
- Sand the Surface: Place the pad on a flat, clean surface and gently sand the friction material with fine-grit sandpaper. You’re aiming to remove the contaminated top layer, revealing fresh, clean material underneath. Sand in a circular motion until the surface looks dull and uniform, like a new pad.
- Clean Pads: Wipe the sanded pads thoroughly with Isopropyl Alcohol and a clean rag/paper towel.
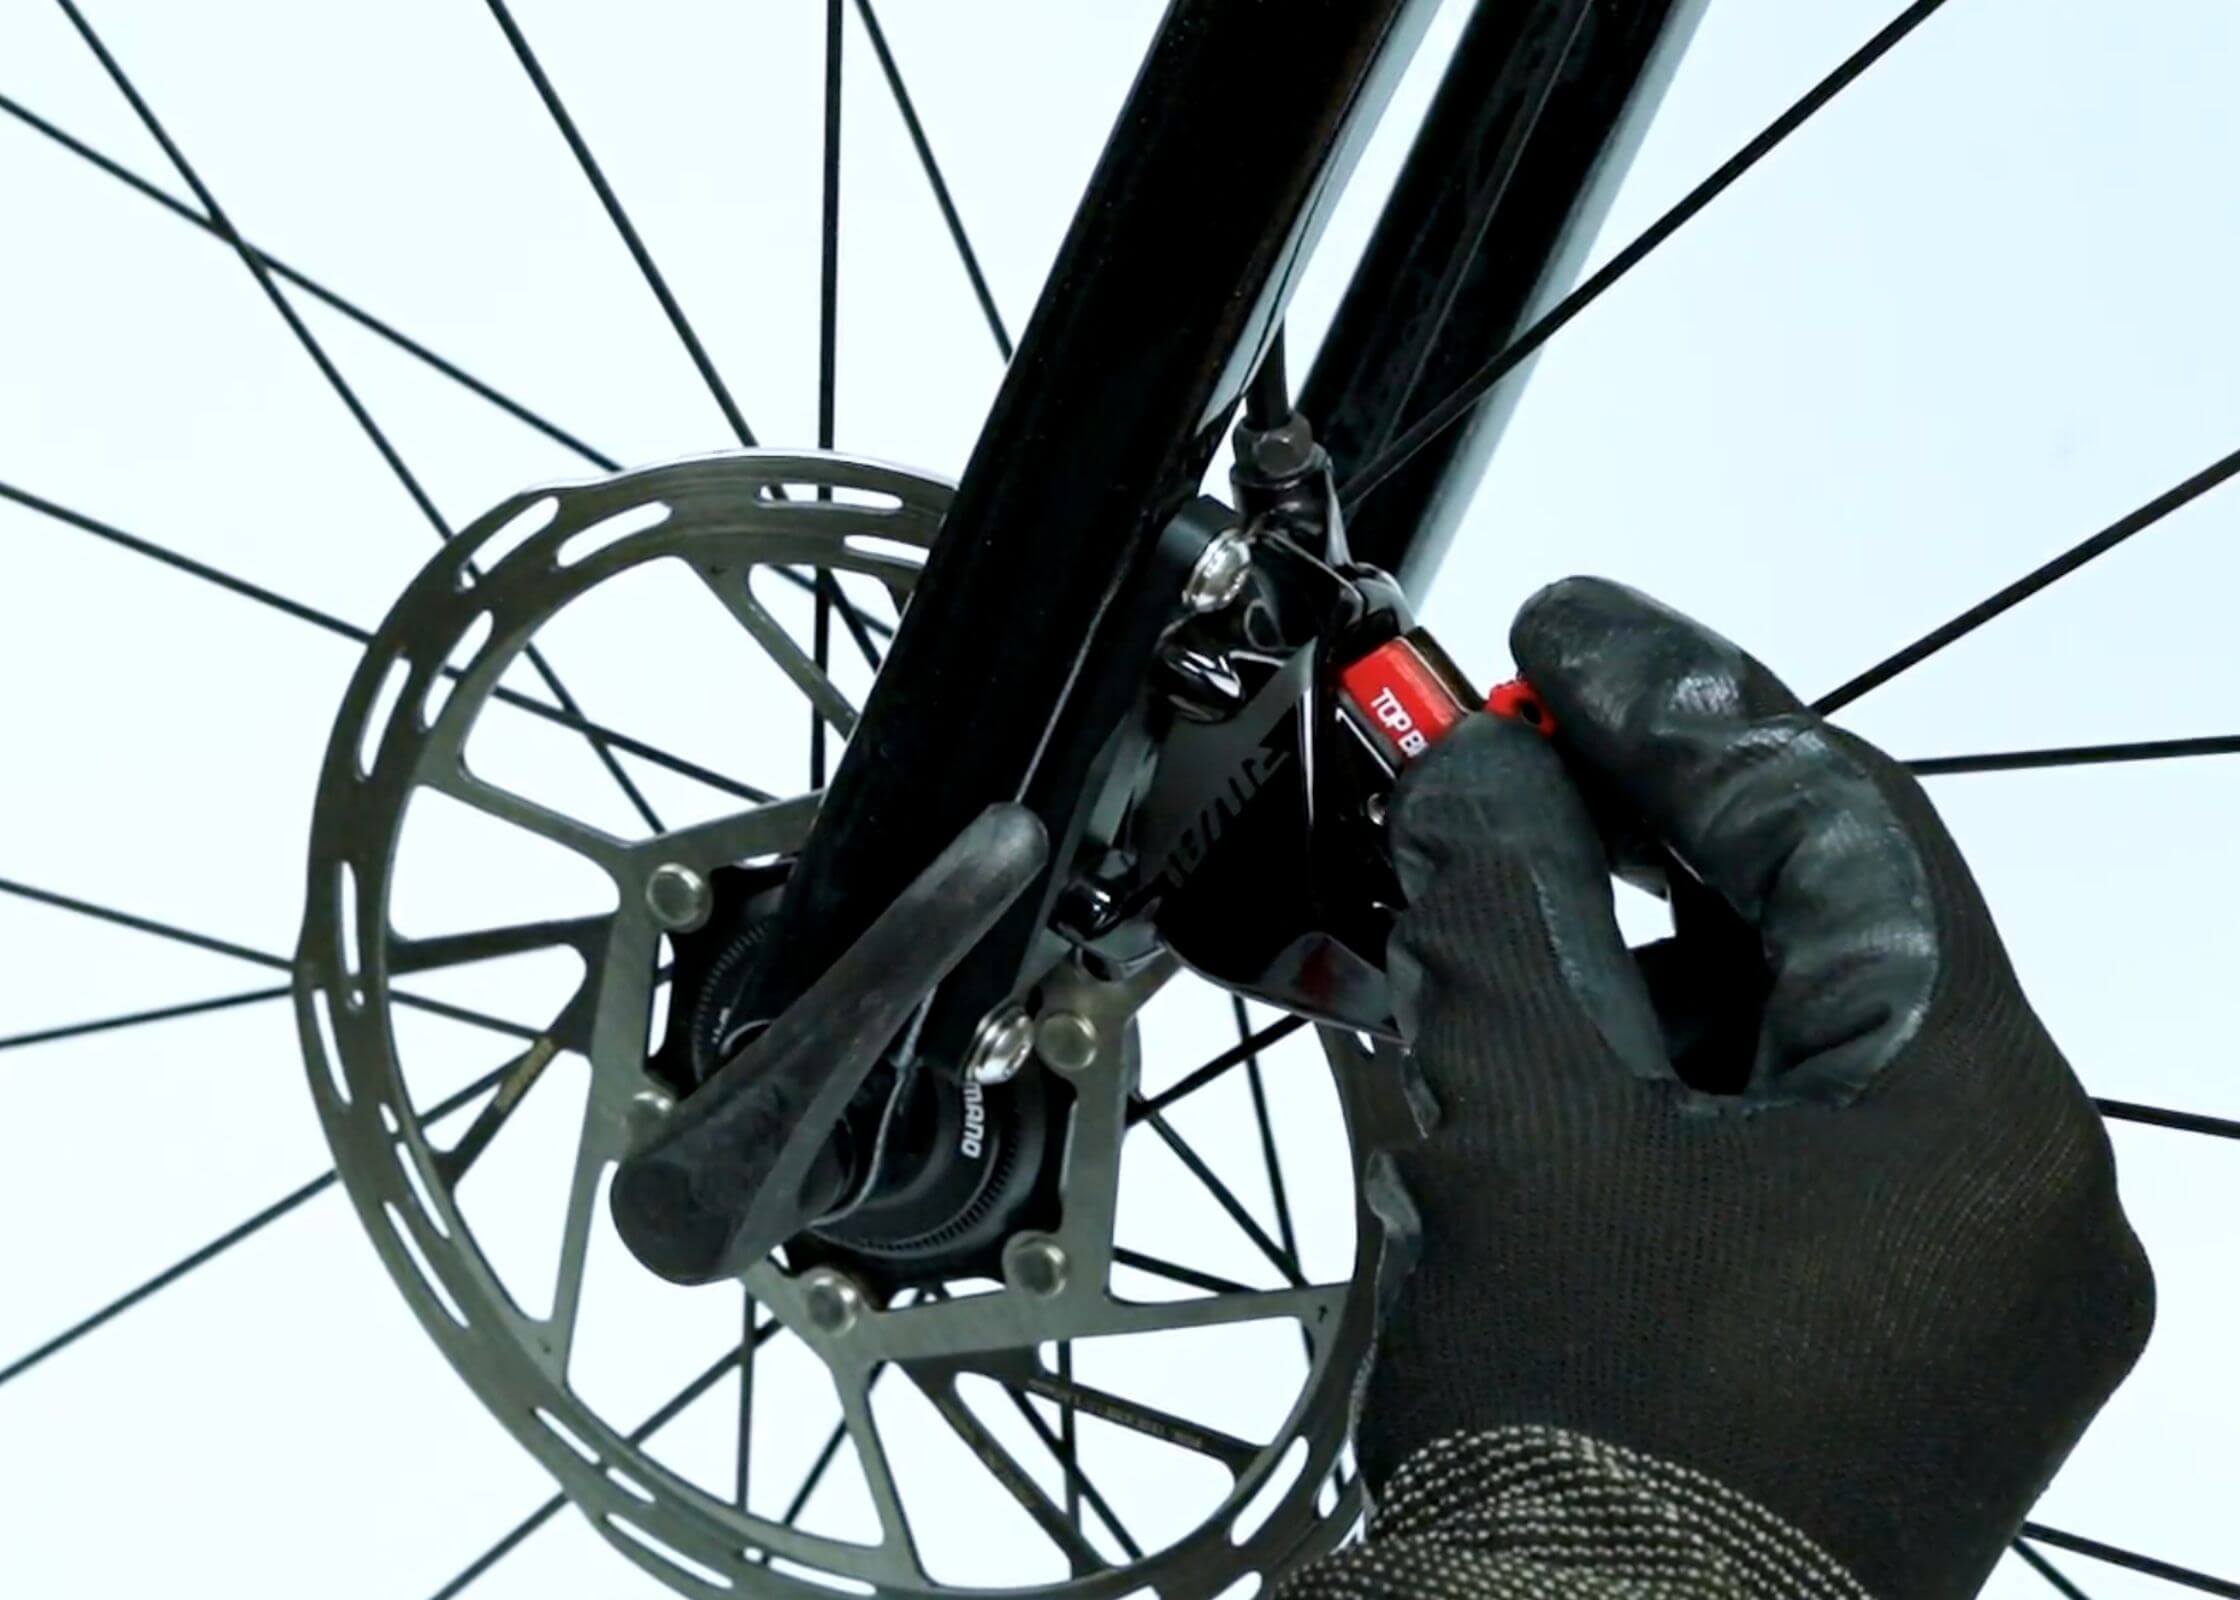
- Clean Caliper: While the pads are out, take a moment to clean inside the caliper with IPA, especially around the pistons, to remove any hidden gunk. Do not spray brake cleaner directly into the caliper if it might get on the piston seals.
Step 3: Reassembly & Bedding In
Putting it all back together correctly is just as important.
- Install Clean Pads: Carefully reinsert the now-clean pads into the caliper. Make sure they are seated correctly.
- Reinstall Wheel: Put your wheel back on the bike.
- Bed In Your Brakes: This is CRITICAL. Just like new pads, re-sanded pads need to be properly bedded in to optimize performance and prevent noise.
- Find a safe, open area.
- Accelerate to a moderate speed, then brake firmly (but not skidding) down to a walking pace. Repeat this 10-20 times.
- Then, accelerate to a higher speed and brake very hard (almost to a stop, but don’t stop completely) 5-10 times.
- Allow the brakes to cool. You should now have strong, quiet braking.
Prevention is Key: Keep Your Brakes Silent
An ounce of prevention is worth a pound of cure, especially with brake noise!
- Lube Carefully: Use an applicator for chain lube or spray onto a rag first, then apply to the chain. Wipe off excess.
- Clean After Servicing: After any drivetrain work or suspension maintenance, always clean your rotors and calipers with IPA.
- Avoid Contaminants: Don’t touch rotors or pads with bare hands. Be mindful of where you lay your bike down.
- Quality Pads Helps: High-quality pads like advanced ceramic brake pads provides exceptional quiet operation for daily trail riding. For improved heat management and reduced noise for long distance, consider graphene brake pads.
Ride Silent, Ride Confident
Dealing with noisy brakes can be frustrating, but with a bit of patience and the right steps, you can restore your braking system to silent, powerful operation. Remember, a quiet bike allows you to focus more, ride safer, and fully immerse yourself in the joy of the trail.