When to Replace MTB Disc Brake Rotors: A Beginner-Friendly Safety Guide
Many riders regularly replace their brake pads, but rarely think about their brake rotors. Rotors look solid and durable, so they’re often assumed to last indefinitely.
In reality, disc brake rotors are one of the most critical safety components on your mountain bike. They are not just friction surfaces. They are the primary heat sinks responsible for absorbing and dissipating braking energy.
When rotors wear beyond their safe limits, even brand-new brake pads cannot deliver consistent or reliable braking performance.
Why Disc Brake Rotors Matter More Than You Think
Every time you slow down, kinetic energy is converted into heat. That heat must go somewhere, and your brake rotors handle most of it.
A healthy rotor has enough thermal mass to manage repeated braking, especially on long descents. As rotors wear thinner over time, their ability to absorb and dissipate heat is reduced.
This is often why riders experience fading brake feel or inconsistent lever response during extended downhill riding.
Why Minimum Thickness Matters, but Isn’t a Universal Number
Most MTB disc brake rotors specify a minimum thickness, commonly 1.5mm. This standard is widely used by manufacturers such as Shimano and SRAM, and it’s based on heat capacity, structural integrity, and braking stability.
When a rotor becomes too thin, several issues may occur:
- Faster heat buildup
- Higher brake fluid temperatures
- Reduced braking consistency on long descents
- Unpredictable lever feel
However, 1.5mm is not a universal rule for all rotors.
Many modern Enduro and E-MTB rotors, including thicker designs from brands like Magura, TRP, and Tektro, start with greater initial thicknesses, often around 2.0 to 2.3mm. As a result, their minimum replacement thickness may be 1.8mm or even 2.0mm.
Every rotor is manufactured with a specific MIN TH (Minimum Thickness) marking, usually etched directly onto the rotor itself. Always use the MIN TH marking on your rotor as the final reference, rather than relying on a single number you’ve memorized.
Maintenance Tip: If you are experiencing fading or inconsistent braking on long descents, rotor thickness is only part of the heat story. See a practical guide to overheating signs, causes, and solutions here:
Brake Overheating: Signs, Causes, and Solutions.
Three Beginner-Friendly Signs Your MTB Disc Brake Rotors Are Worn
If you’re unsure whether your rotors need replacement, check the following signs.
Thickness and Edge Feel
Using a caliper is the most accurate way to measure rotor thickness. If you don’t have one, carefully run your finger along the outer edge of the rotor to feel for a noticeable step or lip.
Important safety note: Always perform this check only after the rotor has fully cooled down. Brake rotors can become extremely hot after riding and may cause burns if touched too soon.
A pronounced step at the edge usually indicates significant wear.
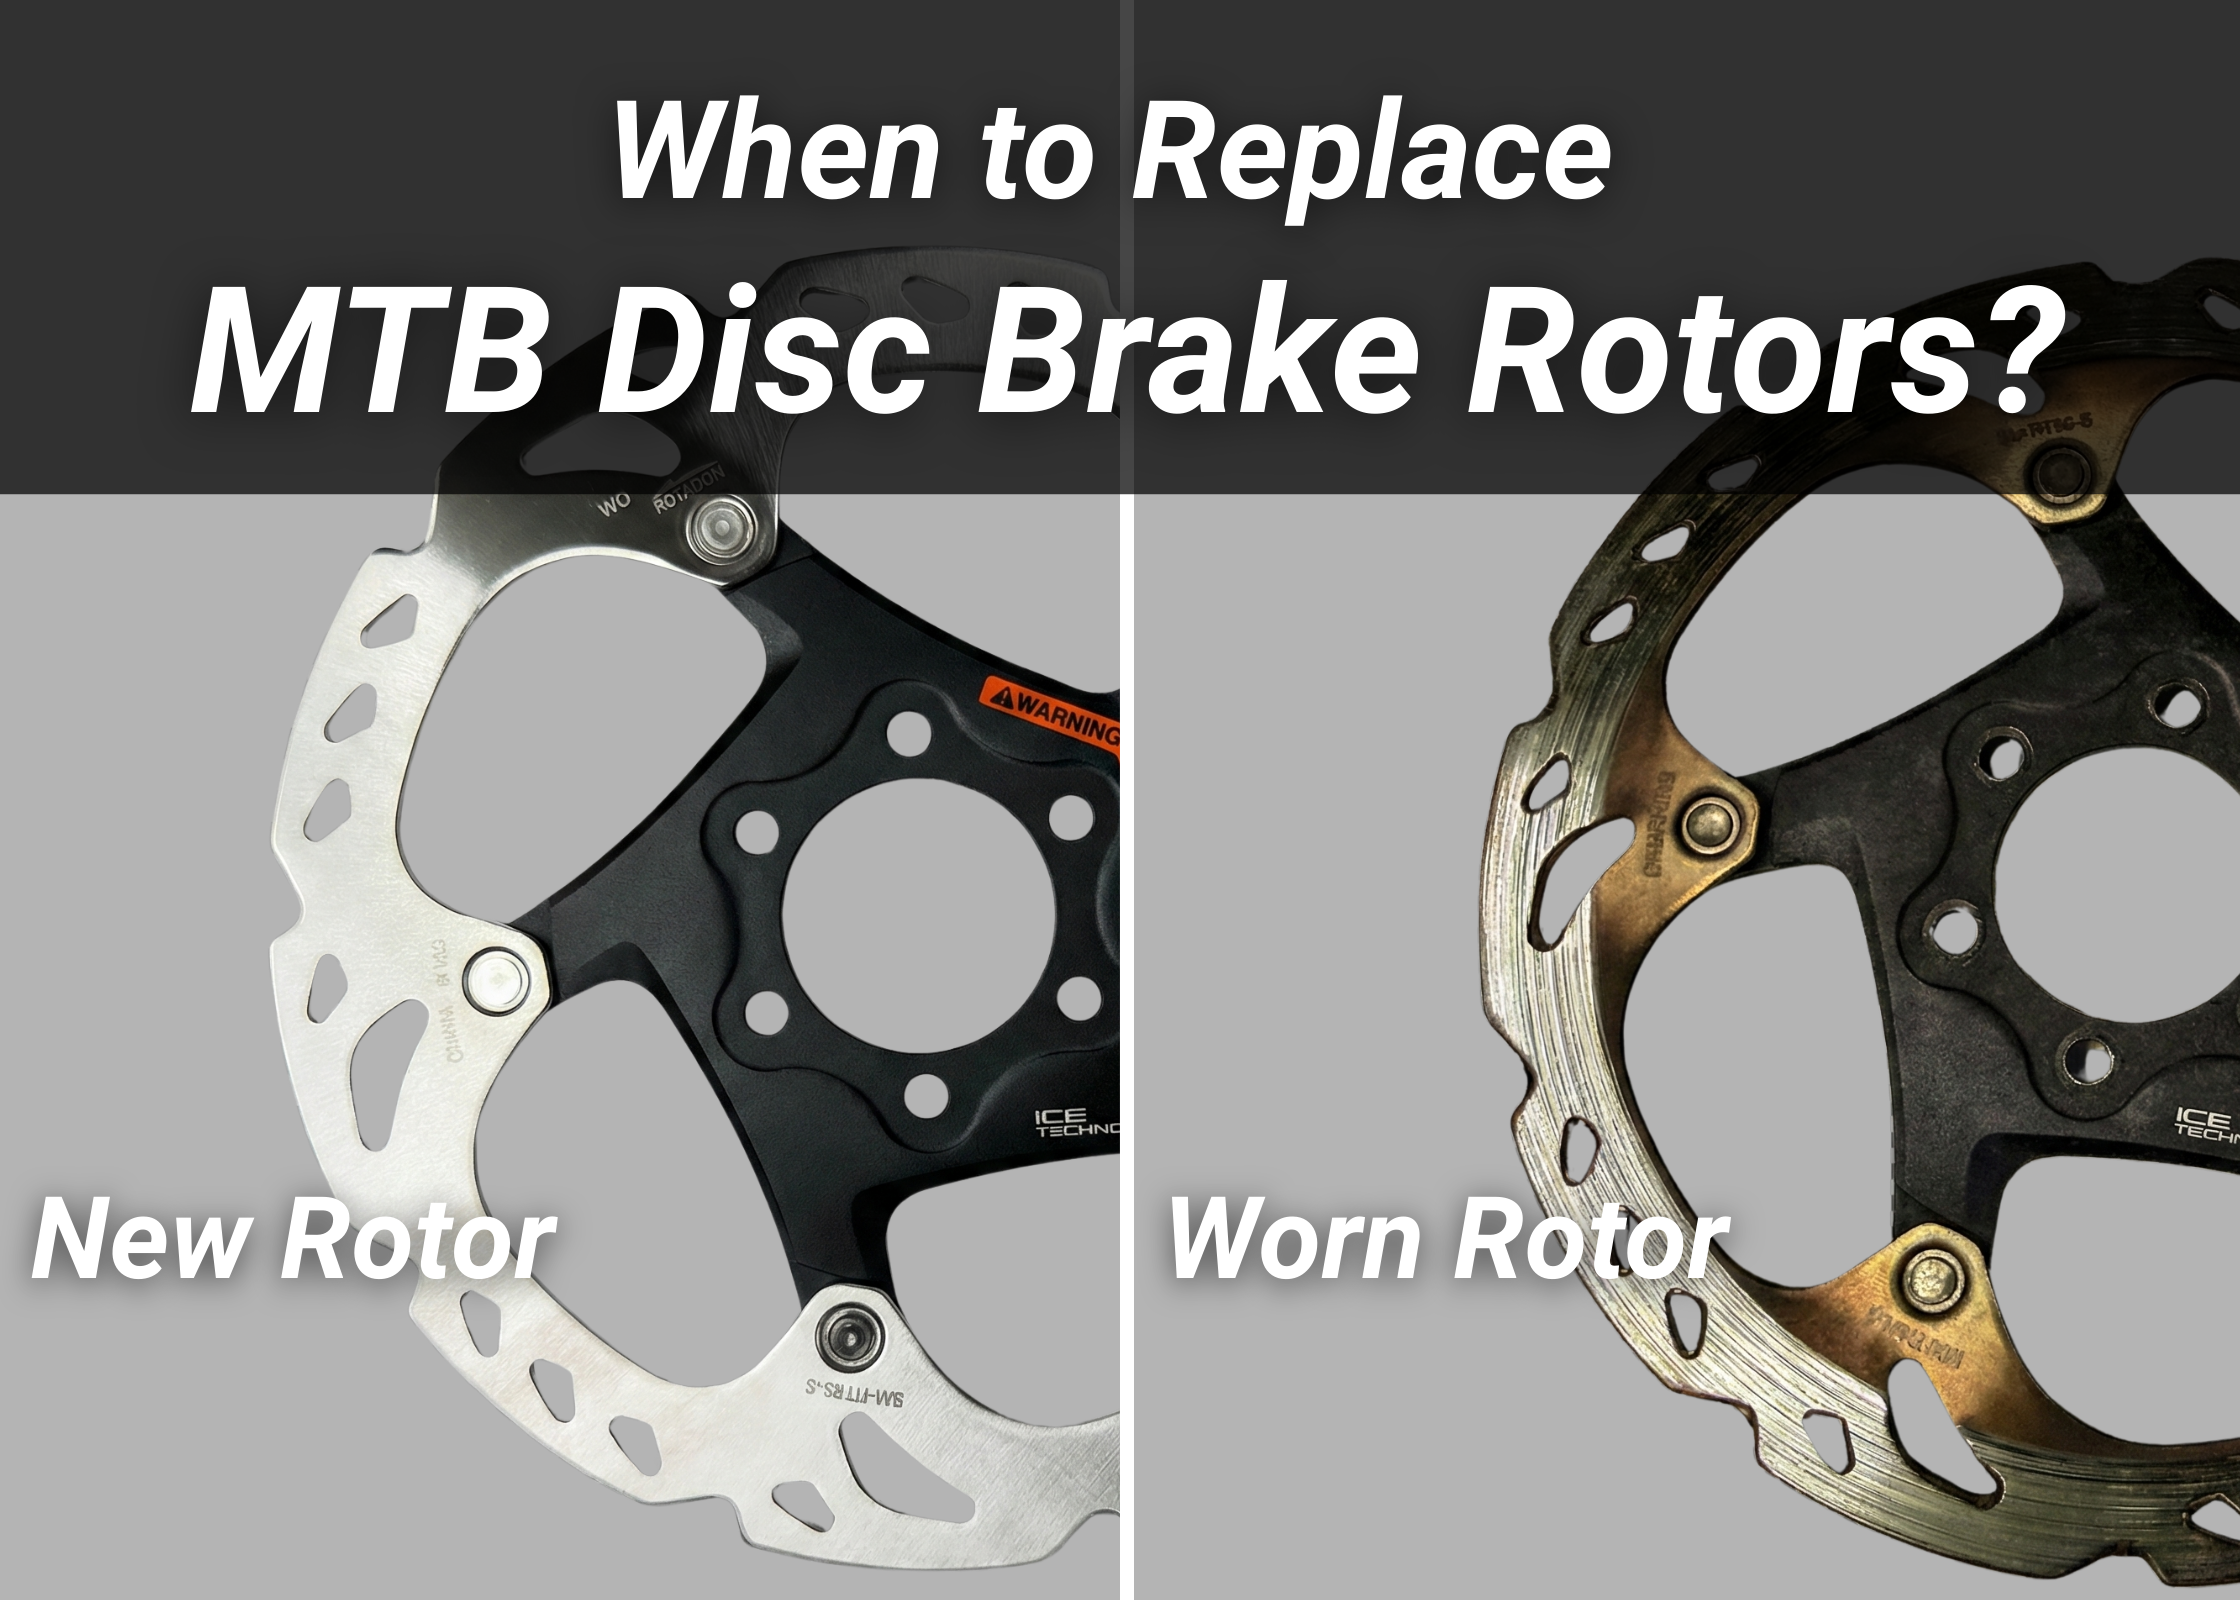
Discoloration from Heat
Healthy rotors typically have a consistent metallic finish. If you see blue, purple, or rainbow-like discoloration, the rotor may have been exposed to excessive heat.
Such heat exposure can alter the metal structure, reducing braking stability even if the rotor appears intact.
Noise and Braking Feel
If you’ve installed new brake pads but still experience vibration, squealing, or uneven braking feel, the issue may lie with the rotor surface.
Uneven wear or grooves can prevent proper pad contact and smooth braking.
Quick Check: Still unsure after checking your rotors? Looking at brake pad wear together with rotor condition often makes replacement decisions much clearer. Use this guide to confirm when pads should be replaced:
When to Replace Your Bike Brake Pads.
Can You Replace Rotors Without Replacing Brake Pads?
From both an engineering and practical standpoint, this is not recommended.
Used brake pads are already worn to match the old rotor’s surface. When paired with a new rotor, the contact area is reduced, often leading to:
- Uneven rotor wear
- Improper pad bed-in
- Inconsistent braking feel
Best practice: replace brake pads whenever you install new rotors, so the entire braking system can bed in correctly as a unit.
Next step: Replacing worn rotors is only half of the equation. Learn how to choose the right MTB brake pads for your brake system to complete the setup.
Special Considerations for E-MTB Riders
E-MTBs generate more braking energy due to increased weight and sustained speeds. On long descents and technical terrain, rotors are exposed to significantly higher thermal loads.
In real-world use, E-MTB rotors may wear out much faster, sometimes nearly twice as fast as those on traditional mountain bikes. More frequent inspection of rotor thickness and condition is essential for E-MTB riders.
E-MTB note: If you want to understand why E-MTBs wear rotors and pads faster, this physics-based explanation makes the differences easy to grasp:
E-MTB Physics Problem.
Final Thoughts: Ride Fearless Through Proper Maintenance
Disc brake rotors rarely get attention until something feels wrong. Yet they play a crucial role in braking confidence and safety.
A well-maintained rotor delivers predictable, consistent braking, allowing you to focus on the trail ahead.
Ride Fearless starts with understanding when your braking system needs attention.
Explore more: If you want a deeper, start-to-finish understanding of how brake pads, rotors, heat, and riding style work together, our complete MTB brake pads guide breaks it down step by step:
Mountain Bike Brake Pads Guide.