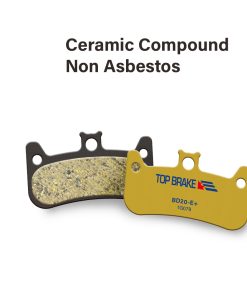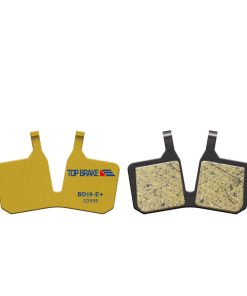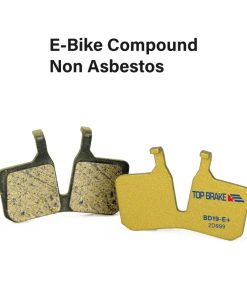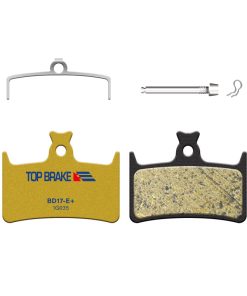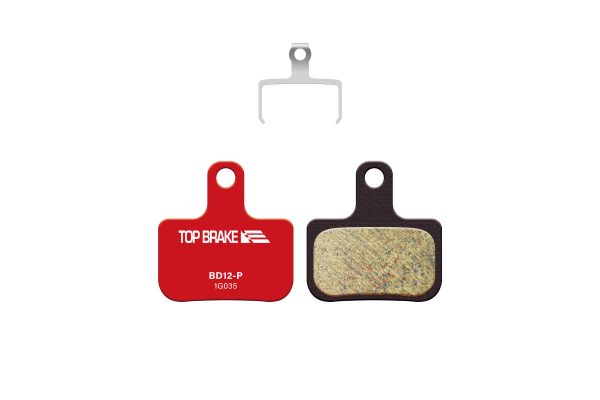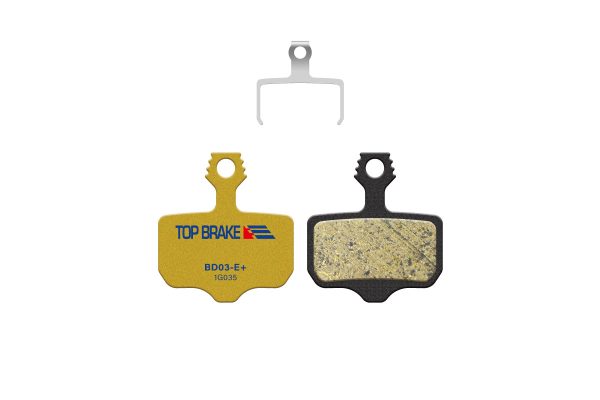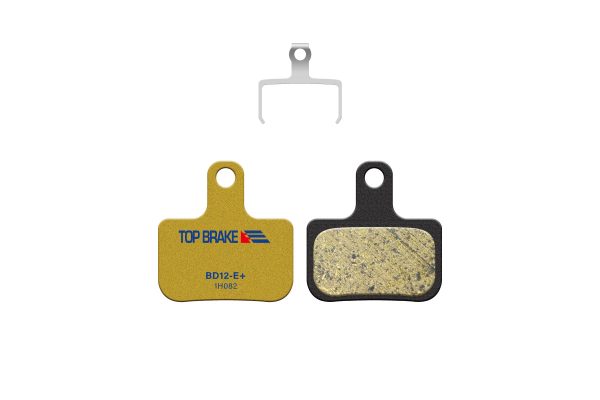

Step 1
First, loosen caliper mounting bolts with tool.

Step 2
Loosen pin on top of caliper.

Step 3
Remove existing brake pads from caliper.
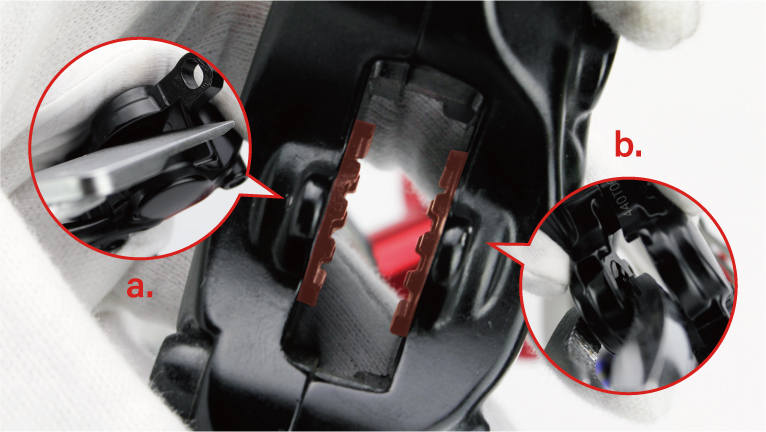
Step 4
Use tool to retract pistons back to its horizontal position.

Step 5
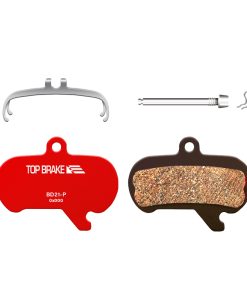
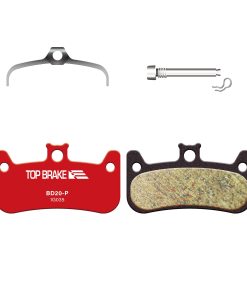
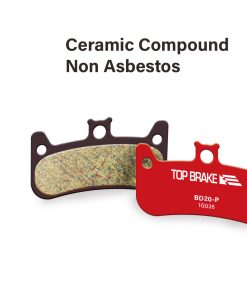
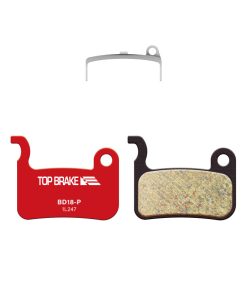
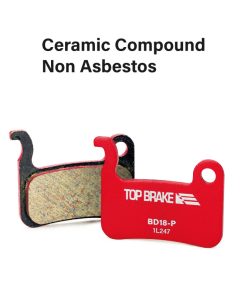
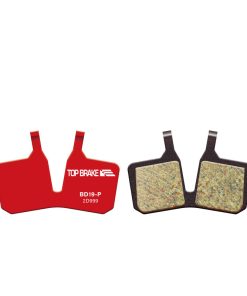
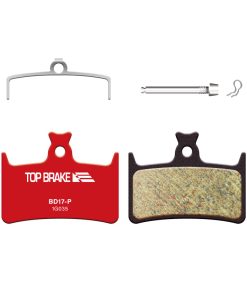
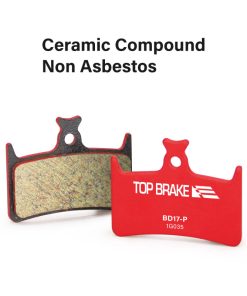
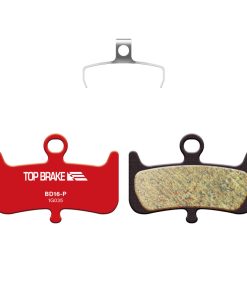
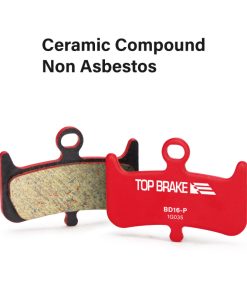
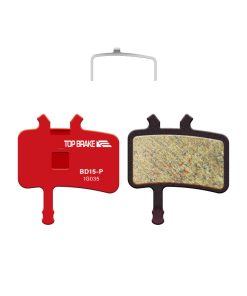
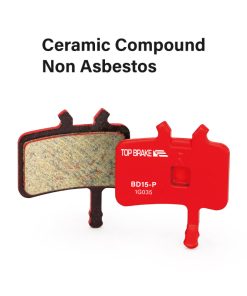
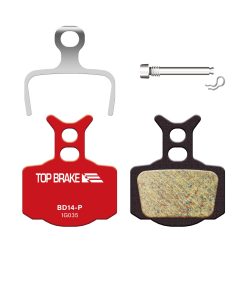
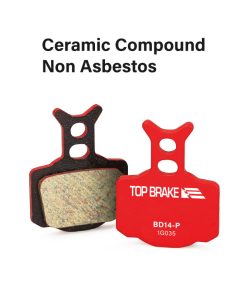
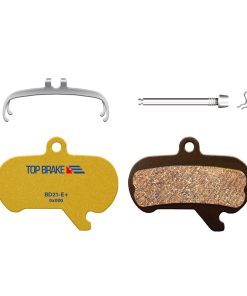
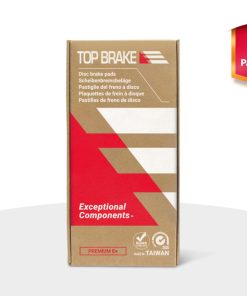
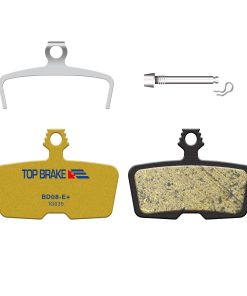
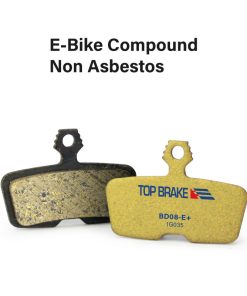
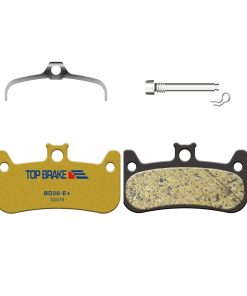
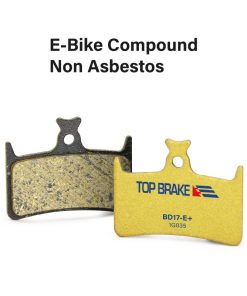
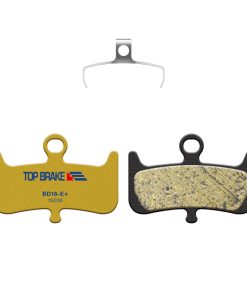
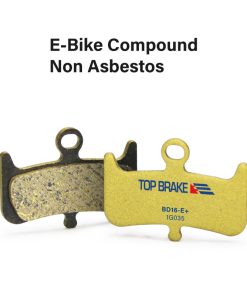
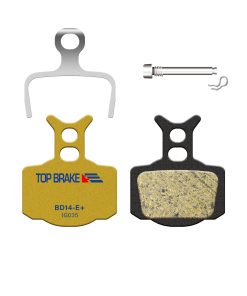
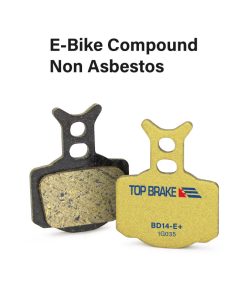
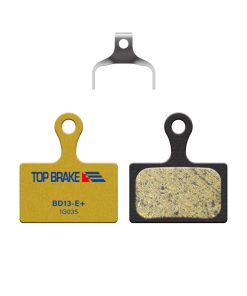
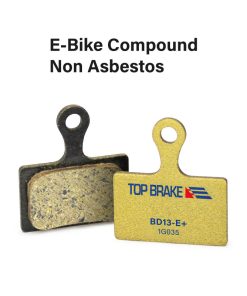
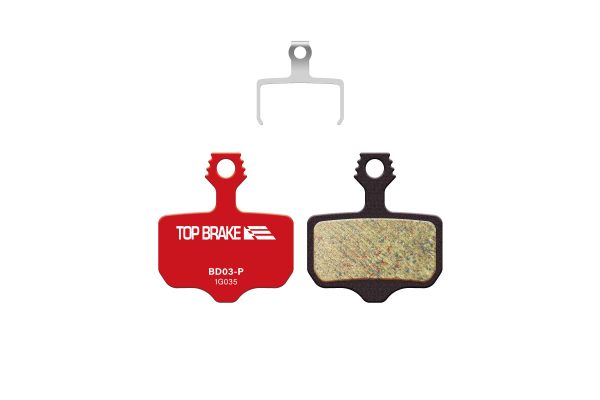
Prepare new pair of TOP BRAKE disc brake pads.

Step 6
Assembled TOP BRAKE brake pads with spring. Insert them into the caliper.

Step 7
Tighten the mounting bolts, then later the pin.

Step 8
When brake pad installation is completed, check if rotor is aligned at center.
For road riding or trail riding, we recommend TOP BRAKE PERFORMANCE brake pads. These pads offer low noise, balanced stopping, and improved heat resistance, providing excellent initial bite from cold.
For high-demand, competitive, or frequent extreme downhill riding, we suggest PREMIUM E+ brake pads. Designed for downhill and Enduro riding, the GraphEx Series brake pads offer high heat resistance, allowing for more aggressive braking without fading at high temperatures. They also have a longer lifespan when used under demanding conditions.
When the brake pad thickness is 0.5mm or less on your road or mountain bike, it’s time to swap it out for a new one to ensure safe braking performance.
Performance
Premium E+
Check the brand and model name of your caliper, or take your original old brake pad out to see what the shape is.
Please confirm your original pad has the same design (outlook) and check the dimensions as item picture shown on product page.
When the brakes use too long, Do make sure your piston is fully retracted before you install our new brake pad.
If you’re hearing unusual brake noise or notice a drop in braking performance, here are two things to check:
-
Inspect your disc rotor – If the rotor surface is uneven or damaged, it can cause excessive noise and quickly wear down your brake pads. Always make sure your rotors are in good condition before riding.
-
Regenerate the brake pads – If the pads are overheated or contaminated, remove them from the caliper and place them on a piece of fine sandpaper. Gently make 10 light circular motions to clean the surface. Reinstall the pads and perform the bedding-in procedure again.
While MTB brake pads may look similar, disc brake pads are not universal. Each pad shape is specifically designed to fit certain caliper brands and models, and even a small difference in length, width, or hook placement can make a pad incompatible with your braking system.
To ensure the perfect fit, we strongly recommend checking your brakes / caliper’s brand and model code before placing an order. Use our simple 3-Step Guide:
1️⃣ Identify your caliper brand (e.g., Shimano, SRAM)
2️⃣ Locate the model number on your caliper (usually engraved near the bolts)
3️⃣ Compare the shape and size of your current pads with our product reference images
Still unsure? Contact us with a clear photo of your caliper—we’ll be happy to help you confirm the correct pad model.
[Check the full 3-Step Guide here ]
We recommend maintaining a speed of 15–25 km/h during the downhill bedding-in process. While speed is important, the key factor is applying the correct and consistent brake lever pressure. Riding too fast may overheat the braking system, while riding too slow may not allow the pads and rotors to reach the optimal temperature needed to form a proper transfer layer. A moderate speed combined with repeated light-to-moderate braking will ensure the process is even and effective.
We recommend using dedicated brake cleaner or isopropyl alcohol only. Avoid any cleaning products that are oil-based or highly penetrating, as these substances can seep into the pads and rotor surfaces, breaking down the transfer layer and causing reduced braking performance or noise. Once this type of contamination occurs, it is very difficult to fully restore the pads’ original performance — in most cases, replacement is the only solution. Proper cleaning keeps surfaces oil-free and dust-free, ensuring stable and reliable braking every time.
Not necessarily. Reduced braking performance can also result from issues with the rotor or caliper, not just the pads. Some rotors are made from lower-quality materials that overheat, warp, or lose structural integrity over time. Overheated rotors may become tempered, leading to permanent loss of strength and an increased likelihood of noise. In such cases, even replacing the pads will not fully restore braking performance. We recommend inspecting rotor flatness, thickness, and color changes, as well as ensuring the caliper is functioning properly, whenever you experience performance loss or unusual noises.


